
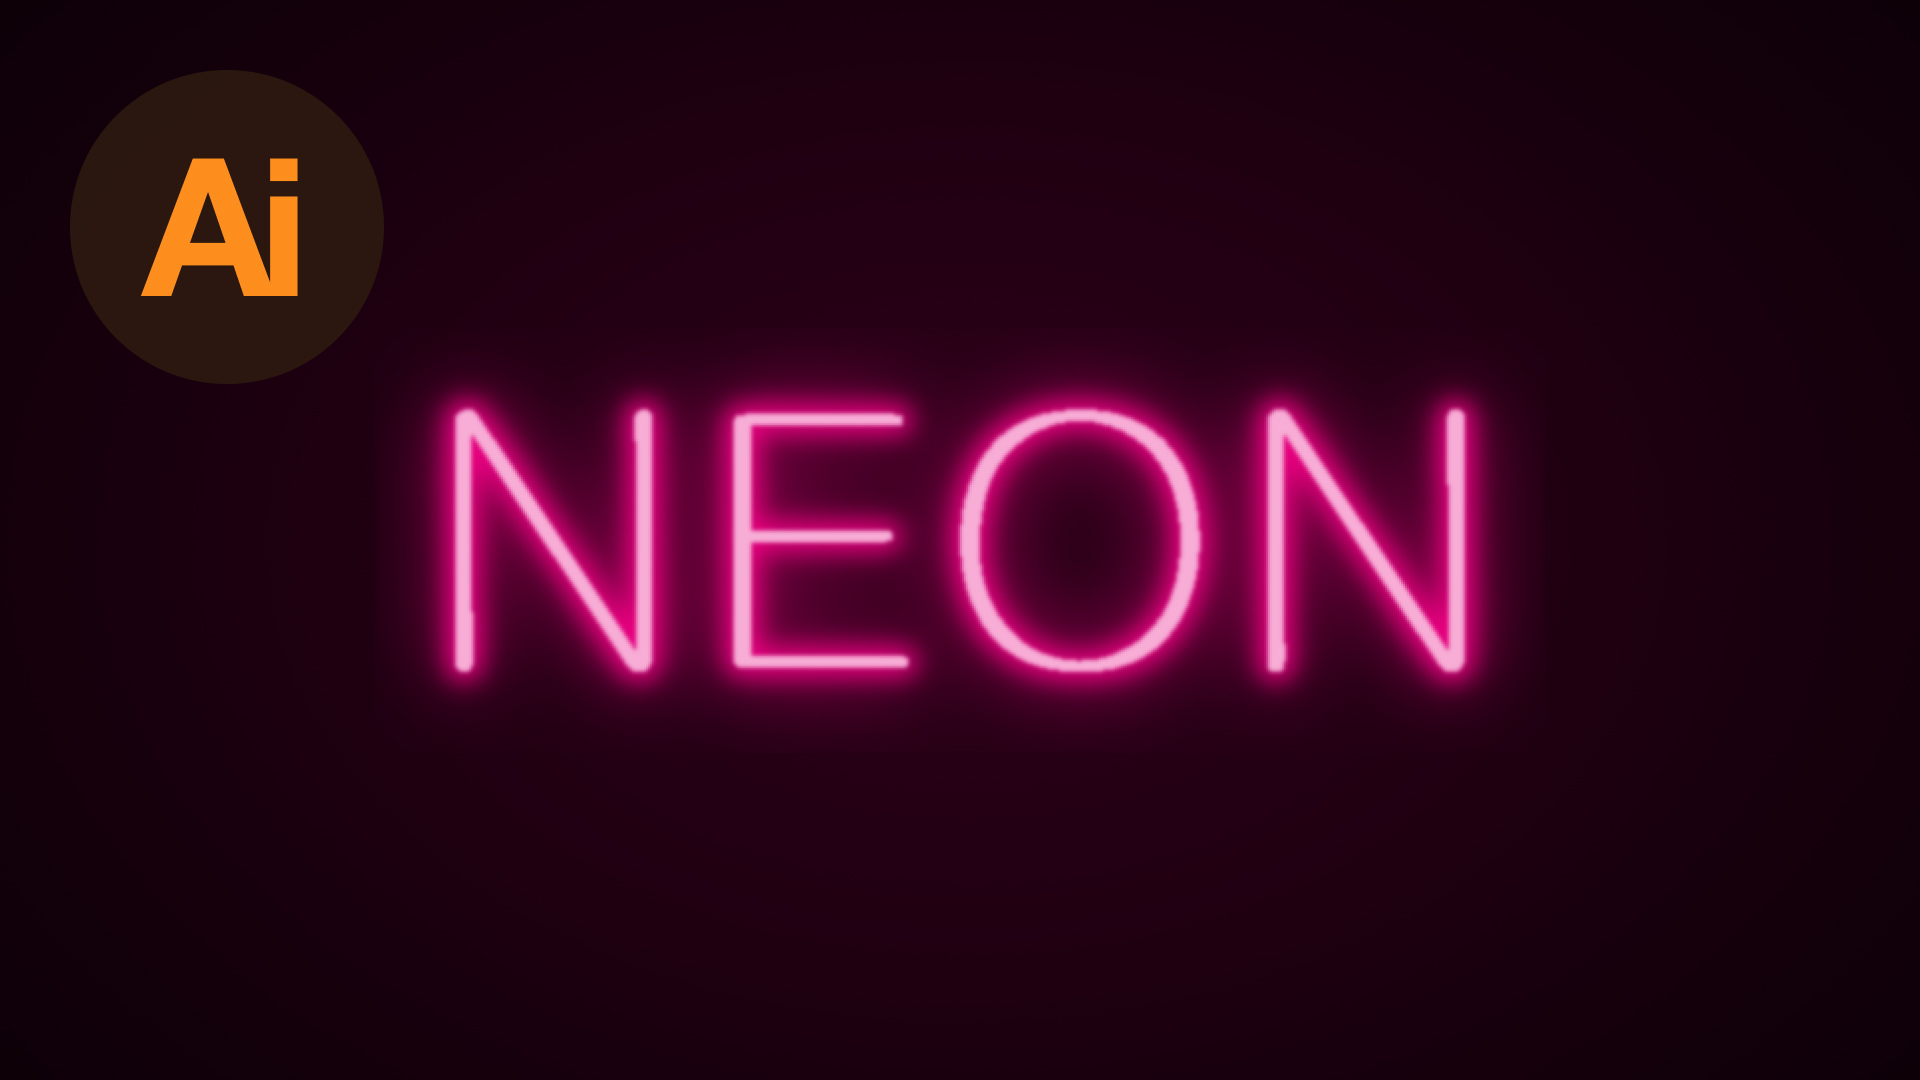
In this tutorial, we’re going to learn how to create a neon text effect in Adobe Illustrator.
The Steps (1-8)
1. Create a New Document.
2. Select the Rectangle Tool, Left-click and Drag to draw a four-sided shape that covers the entire Width and Height of the artboard. Set the colour of this shape to black #000000.

3. Select the Text Tool, Left-click anywhere on the artboard, type your text, and select a font of your choice.
4. Ensure that the text has a Fill colour of pink #E6007E, and go to Type > Create Outlines to convert the text into a shape.

5. With the text selected, go to Object > Path > Offset Path, and set a minus/negative offset value (-5 for this tutorial) and click OK. The aim here is to create a copy of the text that is actually thinner, and fits inside of the original letters.
6. Give these thinner letters a lighter pink colour #EC8CC8.

7. Next, select the darker pink letters and go to Effect > Blur > Gaussian Blur, and specify a value that gives a pink glow around each of the letters. Adjust the blur value depending on how much of a glow you would like around your letters.
8. You can also add a small amount of blur to the thinner light pink text too, in order to help it blend together with the other blurred letters more effectively (optional).

Download Adobe Illustrator.


What is the name of that font? You should include that information.
Nice effect.
Recently i have created this in illustrator please visit my youtube thanks bro!