
In this tutorial, we’re going to learn how to cut out hair in Adobe Photoshop.
The Steps (1-9)
1. Open your photo in Photoshop.
2. Right-click the Background layer in the Layers Palette, and select Duplicate. Switch off the Background layer, and keep this hidden in case you need to use or reference it again in future.

3. Select the Background Eraser Tool, and select a circular shaped brush at 100px in size. Set the Hardness to 50%.

4. Along the top of the screen there are several other options for the Background Eraser Tool. Set the Sampling method to Sample Once, and set the Limits to Discontiguous.

5. Setting the Tolerance level will require a bit of trial and error, depending on the complexity of the hair in your photo. If the Tolerance is set too low, not enough of the background will be removed, and if set too high, the Background Eraser Tool will remove other parts of the photo as well as the hair. For this tutorial, the Tolerance was set to 30.
6. Using the Eyedropper Tool, you can also Left-click on part of the hair to sample this colour. Next, with the Background Eraser Tool selected, select Protect Foreground Colour in the box at the top of the screen. This will protect any hair (and similar shades) that matches the foreground colour. This step increases the likelihood that the Background Eraser Tool will only cut out the hair, and not remove other parts of the photo accidentally.

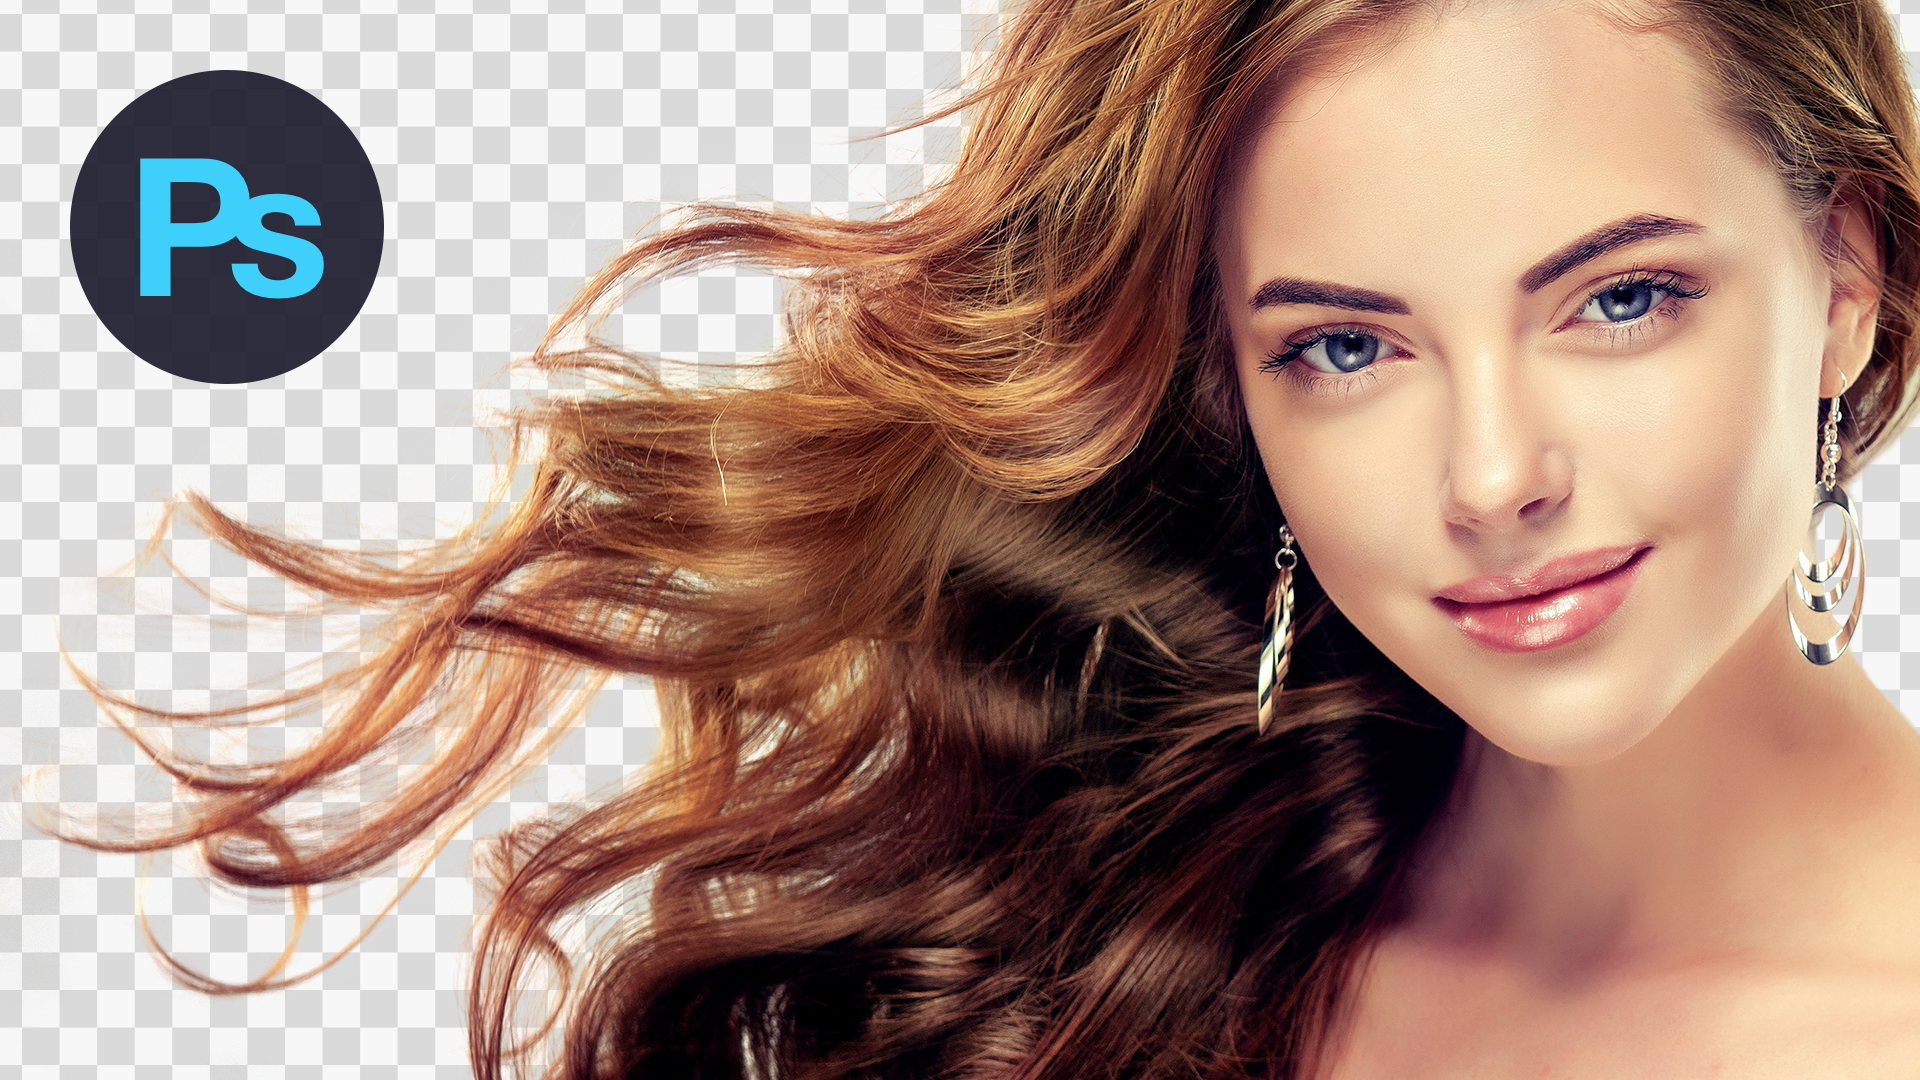
7. Once your settings are correct, Left-click on the background and continue to Drag over the image. If the settings are correct, only the background will be removed, leaving the hair cut out on a transparent background.
8. Any other parts of the photo that may have been accidentally removed, can be reversed by going to Edit > Undo. If the Background Eraser Tool cannot effectively remove the background in certain parts of the photo, simply switch to the normal Eraser Tool, set a suitable Brush Size and Hardness (between 50-100%), and remove the background manually. Take care when cutting out the photo manually, and zoom in/out where necessary using the Zoom Tool.

9. Once you have cut out the hair/photo on to a transparent background, you can also add a New Layer underneath this layer in the Layers Palette. Using the Fill Tool, you can add the selected Foreground Colour (eg. white) to the new layer underneath the photo layer, allowing this to work as a background behind the newly cut out photo.

Download Adobe Photoshop.


…I’ll give it a go but it seems as though most tutorials out there have plain backgrounds! Do you have any tutorials with complex backgrounds?
Cheers!
Richard, with complex backgrounds, you probably will need to spend some time zooming and using the regular eraser tool. You could try using the quick mask tool and making a rough outline for a mask, then refining the mask.
Nice tutorial. I tend to use a number of techniques along side of PS’s tools like channel duplication and manipulation, pen selection, edge refinement. It all depends on what type of background I’m dealing with and how much detail I need to get from the subject’s hair.
You are very handsome, you have completed this design smarty. This is the first time I have seen the different things in your design. You’re background remove system /style is very much conducive for me. If I get time I will try to follow your design.
This is really tricky part, in graphic design cutting or clipping image is very popular. In our daily basis work we need clipping path for images for different reasons it can be for eCommerce business, for magazine design, news paper ad design, logo design, banner ad design etc. For photoshop people this is really a nice tutorial. For beginners this is really a nice tutorial, even for professionals this post can be very helpful. Images in the post make it more easier to understand. Every section in here is clear to understand, for new people of graphic design this is an exceptional post which can be useful for the work. Very nice piece of post, really helped a lot.
Video made more easy to understand, thanks for sharing your valuable creativity.