

You’ve taken the first steps towards building your own website after installing WordPress, but you’re wondering what’s next?
(You can refer to the WordPress installation guide here)
Well, WordPress is an incredible content management system (CMS) – the most popular in the world – and it is quite easy to learn. But, after installing WordPress and seeing the blank screen of the new website, moving ahead may seem intimidating.
After all, there are tons of unique ways to bring a WordPress site through its many themes and plugins. Not to mention basic requirements such as general setup adjustments that allow data analysis, contact form creation, and other essential information on the website.
Here’s a checklist at your fingertips covering the first 7 steps you should complete making your site run.
1. Enter the site information (Title, Time Zone, Profile)
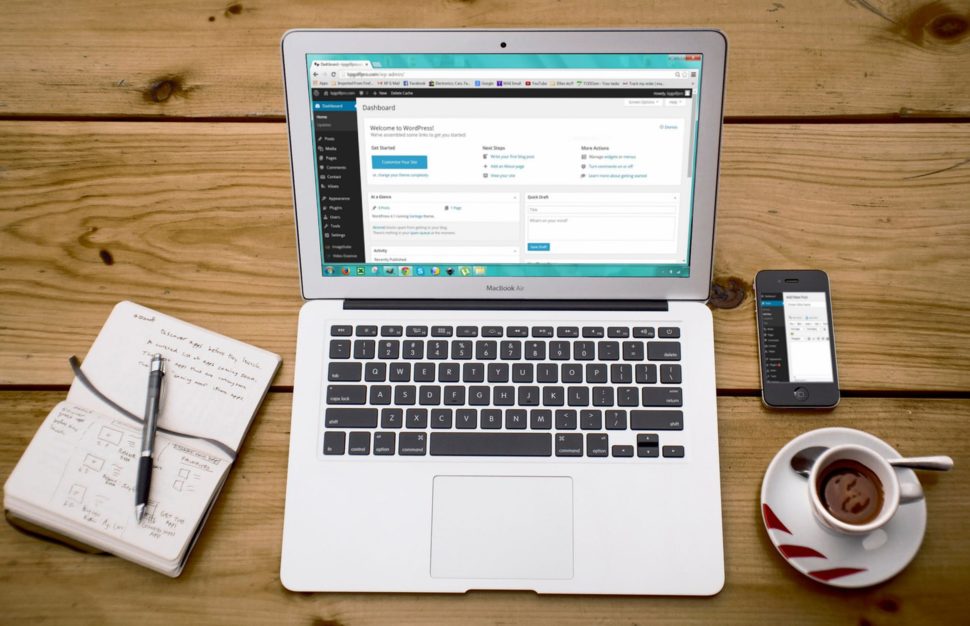
Website Title and Slogan In the WordPress control panel (which will be accessible immediately after installation), navigate to Settings> General. Here you can enter the website name and a slogan. Many websites choose to use the slogan space to display a brand motto.
Time zone
While you are still in the General section, scroll down to adjust the date and time format you want to display on the website, and the time zone in which it operates.
Profile
Profiles are implemented in the WordPress theme, and if you are blogging, your profile can be represented alongside uploaded posts. It’s a good idea to fill this short section earlier in the process.
From the dashboard, navigate to Users> Personal Profile. From here you will be able to enter your user name, contact information, a short biography, and a profile picture.
2. Delete unwanted content (examples of articles and themes)

• Deleting article and page examples
If you look at the Dashboard articles section, you will see content as a blog post called “Hello World”. You can remove unwanted posts by navigating to Articles > All Articles and selecting the Garbage option. In the same way, to remove unwanted pages, go to Pages> All Pages and choose the garage option.
• Deleting default themes
You will also find default themes included with the WordPress installation by default. While you are already removing excess content, it is possible to delete other unwanted themes to clear your navigation and save space.
To delete a theme from the dashboard, navigate to Layout> Themes, then select the delete option in the lower right corner of the unwanted theme.
Note: Active themes cannot be deleted. If you want to remove an active theme, you will need to disable it before deleting it as usual.
3. Choose a WordPress theme
Provided by WordPress or third-party developers, the WordPress theme will determine the look of your website. Free or paid themes are available in the WordPress thematic directory.
While you should choose a theme based on taste and budget, it is important to keep in mind that paid themes offer wider customization options, frequent updates, more careful assistance, and easier functionality.
Also, it is important to remember that each theme is coded and works differently, so make sure you look at the support documentation when you modify the theme or check the compatibility of the modules.
4. Install plugins

Plugins are great because they extend the functionality of WordPress sites and are essential for most sites. This is because WordPress is packaged with everything that is needed for the sites itself, so additional site features such as a list of products and services, two-factor authentication, payment processing, and more are possible only by installing plugins.
5. Securing the site
The real trick in keeping your site safe is a good security practice.
Strong passwords, a hidden address of the administrator and making sure your site is up to date is all needed to protect your website.
WordPress security plug-ins are available to further enhance site protection by adding additional features, such as two-factor authentication password protection.
Two-factor authentication requires a second user-specific code that changes during authentication to make strong passwords.
In addition, to demonstrate that your site is safe for users, you will want to install an SSL certificate.
SSL certificates protect against external attempts to intercept registered users.
6. Link your site to Google Analytics
Making and developing a website is one thing, but ensuring that it works well and continues to do this is something else.
To monitor website statistics and plan stronger strategies for your site, you’ll want to link it to Google Analytics.
This will allow you to analyze traffic, user behavior, and other useful information to better understand the audience. Virtually all successful companies follow their operational data to influence managerial decisions, which means you can not afford to neglect your own data.
7. Create a backup
With the preliminary steps completed, you are almost ready to launch the website. But, before doing so, it is worth creating a backup reserve.
This last task may seem easy to ignore, but it could become the most important.
Imagine that after all your work and effort you have made a popular and profitable site. But then somebody manages to break it and suddenly everything that you have worked is gone and nothing has ever been there.
Having a website backup, it can be restored.
However, remember that WordPress does not come with a backup system, so you will need to manually backup.


Leave a Reply