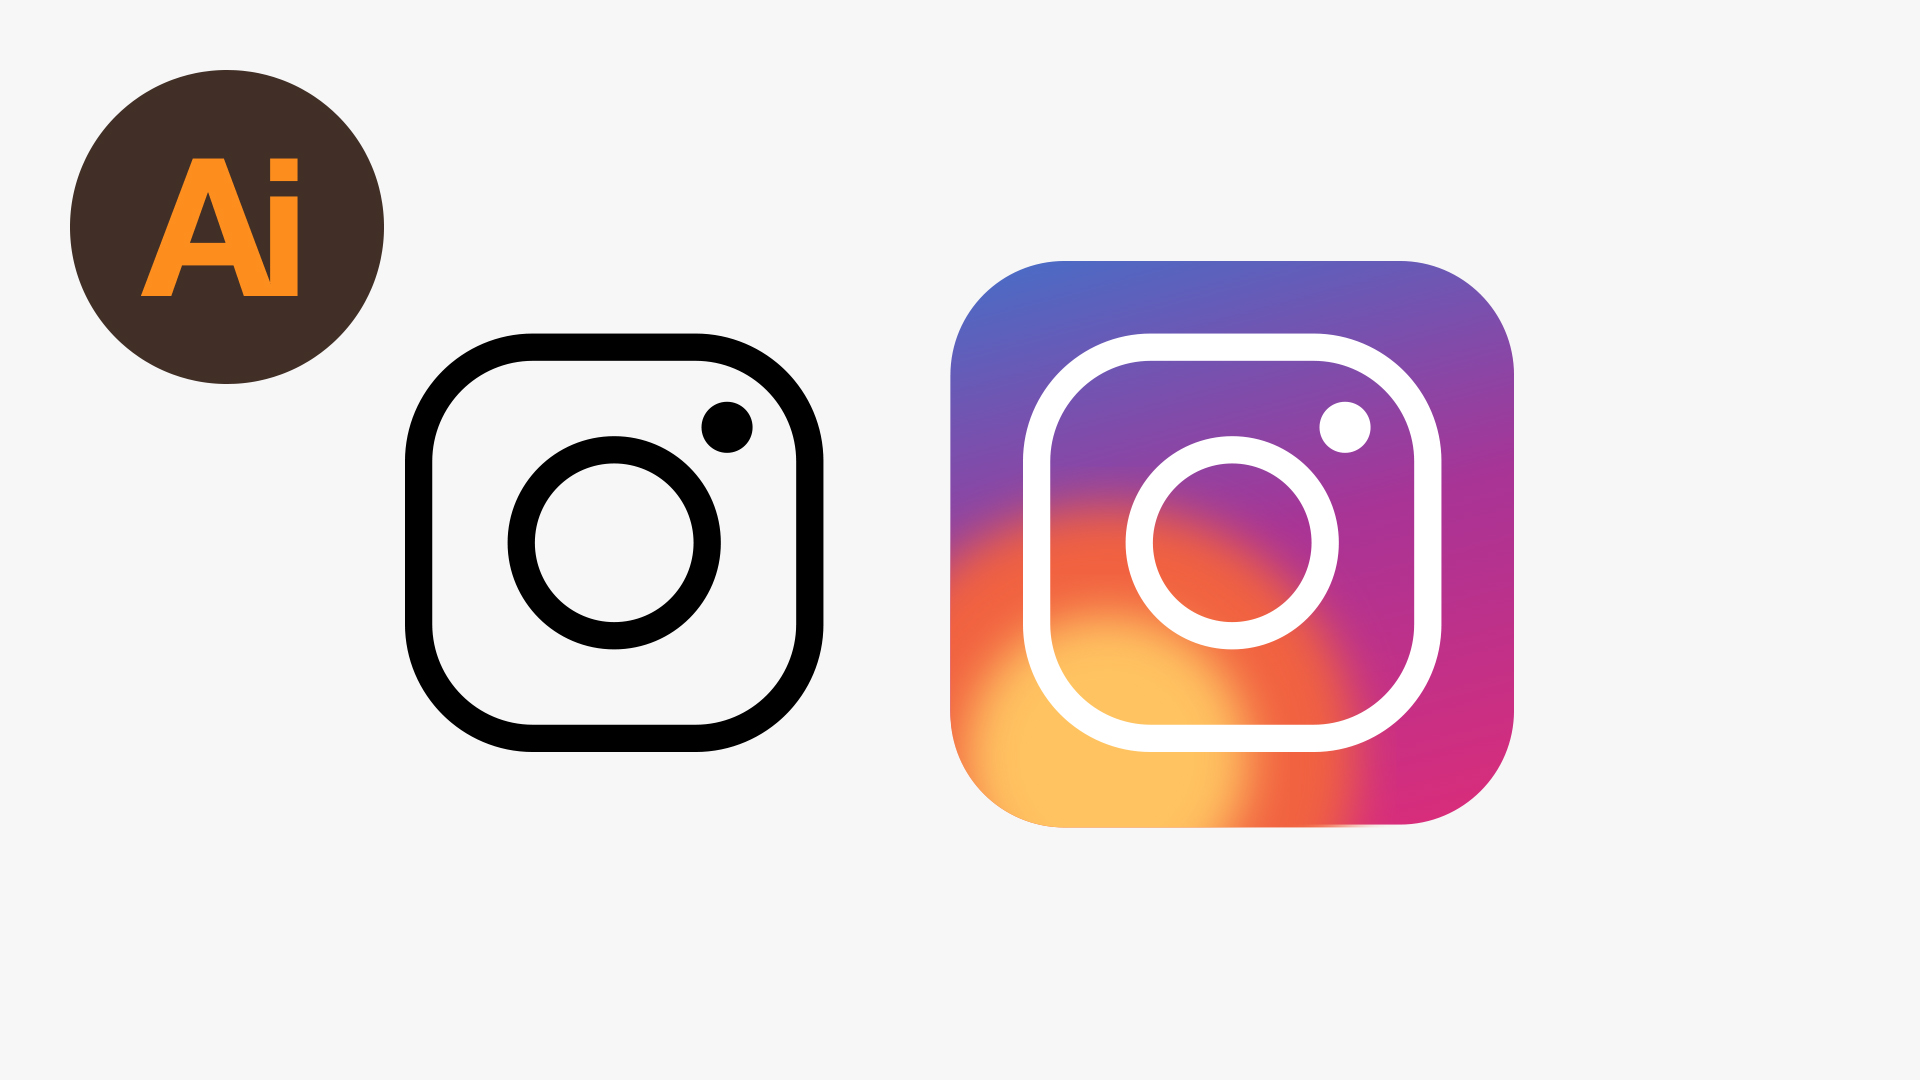
In this tutorial, we’re going to learn how to draw the 2016 Instagram logo in Adobe Illustrator.
The Steps (1-19)
1. Create a new document.
2. Select the Rectangle Tool and hold Shift to draw a square. Give this shape a black fill and remove any strokes.
3. Using the handles inside the shapes’ corners, drag these towards the centre of the shape to round of the corners.

4. Next, source an image of the 2016 Instagram logo online (eg. Google), Copy and Paste this into Illustrator, and using the Eyedropper Tool, sample the 5 different colours used in the logo, and create swatches of these colours – blue, purple, red, orange, yellow.
5. With the square selected, go to Edit > Copy, and then go to Edit > Paste in Place.
6. Left-click holding Alt and Shift to scale this new square down in size towards the centre, and give the shape a thick stroke and remove the fill.

7. Select the Ellipse Tool, Left-click and hold Shift to create a circle.
8. Drag over all of the shapes created so far to select, and in the Align Palette, align all shapes horizontally and vertically. Give this circle the same stroke width as we did for the square in Step 6.
9. Create a new circle using the Ellipse Tool. Make this circle smaller, give this fill a white fill, and remove the stroke.

10. Select all shapes created so far, and go to Object > Expand, select Fill and Stroke, and click OK.
11. Select the black shape created in Step 2, and click on the Gradient Slider in the Gradient Palette.
12. Drag the blue swatch on to left side of the Gradient Slider. Drag the pink swatch on to the right side Gradient Slider, and drag the red swatch into the centre.

13. Select the Ellipse Tool and hold Shift to create a circle. Give this circle a fill colour using the orange swatch.
14. With the orange circle selected, go to Effect > Blur > Gaussian Blur, and blur the shape as far as you can, up until you see any hard edges appear. The goal is to softly blend this circle into the existing gradient.
15. Select the orange circle, and go to Edit > Copy, and then Edit > Paste in Place. Hold Alt and Shift to scale this new circle down in size towards the centre. Give this shape a fill colour using the yellow swatch, and apply to same Gaussian Blur effect as in Step 14. Select both circles and go to Object > Group, to group these two shapes together.

16. Select the gradient shape and go to Edit > Copy, and then Edit > Paste in Place, and position the orange and yellow circles in the bottom left corner of the gradient shape.
17. With the copy of the gradient shape selected, go to Object > Arrange > Bring to Front. Next, hold Shift to also select the orange and yellow circle group, and go to Object > Clipping Mask > Make. This will mask the circles inside the gradient shape/rounded rectangle.
18. Move the masked orange and yellow circle up so the edges line up with the gradient shape in the bottom-left corner.
19. Lastly, group all shapes with colour together by holding Shift to select, and then going to Object > Group, and then go to Object > Arrange > Send to Back, to make sure that the white Instagram logo is displayed on top of the colours.

Download Adobe Illustrator.


Leave a Reply