
[youtube https://www.youtube.com/watch?v=9wQka8SHUdw]
Add a Rollover Effect to your Adobe Muse website. No Coding Skills Required.
Subtle animations and rollovers can really make a website more dynamic. Whether you are showcasing a product or giving more information about an image, rollovers can be very effective.
Adobe Muse makes it really easy to create a rollover effect via their states panel. The states panel consists of four different states. They are:
- Normal
- Rollover
- Mouse Down
- Active
For each of the states you can change the color, border, and image for the state. This allows for a unique rollover effect when applying to images. Also with the later versions of Adobe Muse the transition dialog was introduced for more fluid rollovers and transitions. So rather than a quick change when rolling over the image, the image can now fade in and out of another image.
Adobe Muse CC also integrates seamlessly with Adobe Photoshop CC so you can take different layers in Photoshop and apply them to the different states via the states panel. An example of this would be taking one layer in Photoshop and applying it to the normal state, and then taking another layer in the same Photoshop file and applying it to the rollover state. This will give you a nice rollover effect in Adobe Muse all from the same Photoshop file.
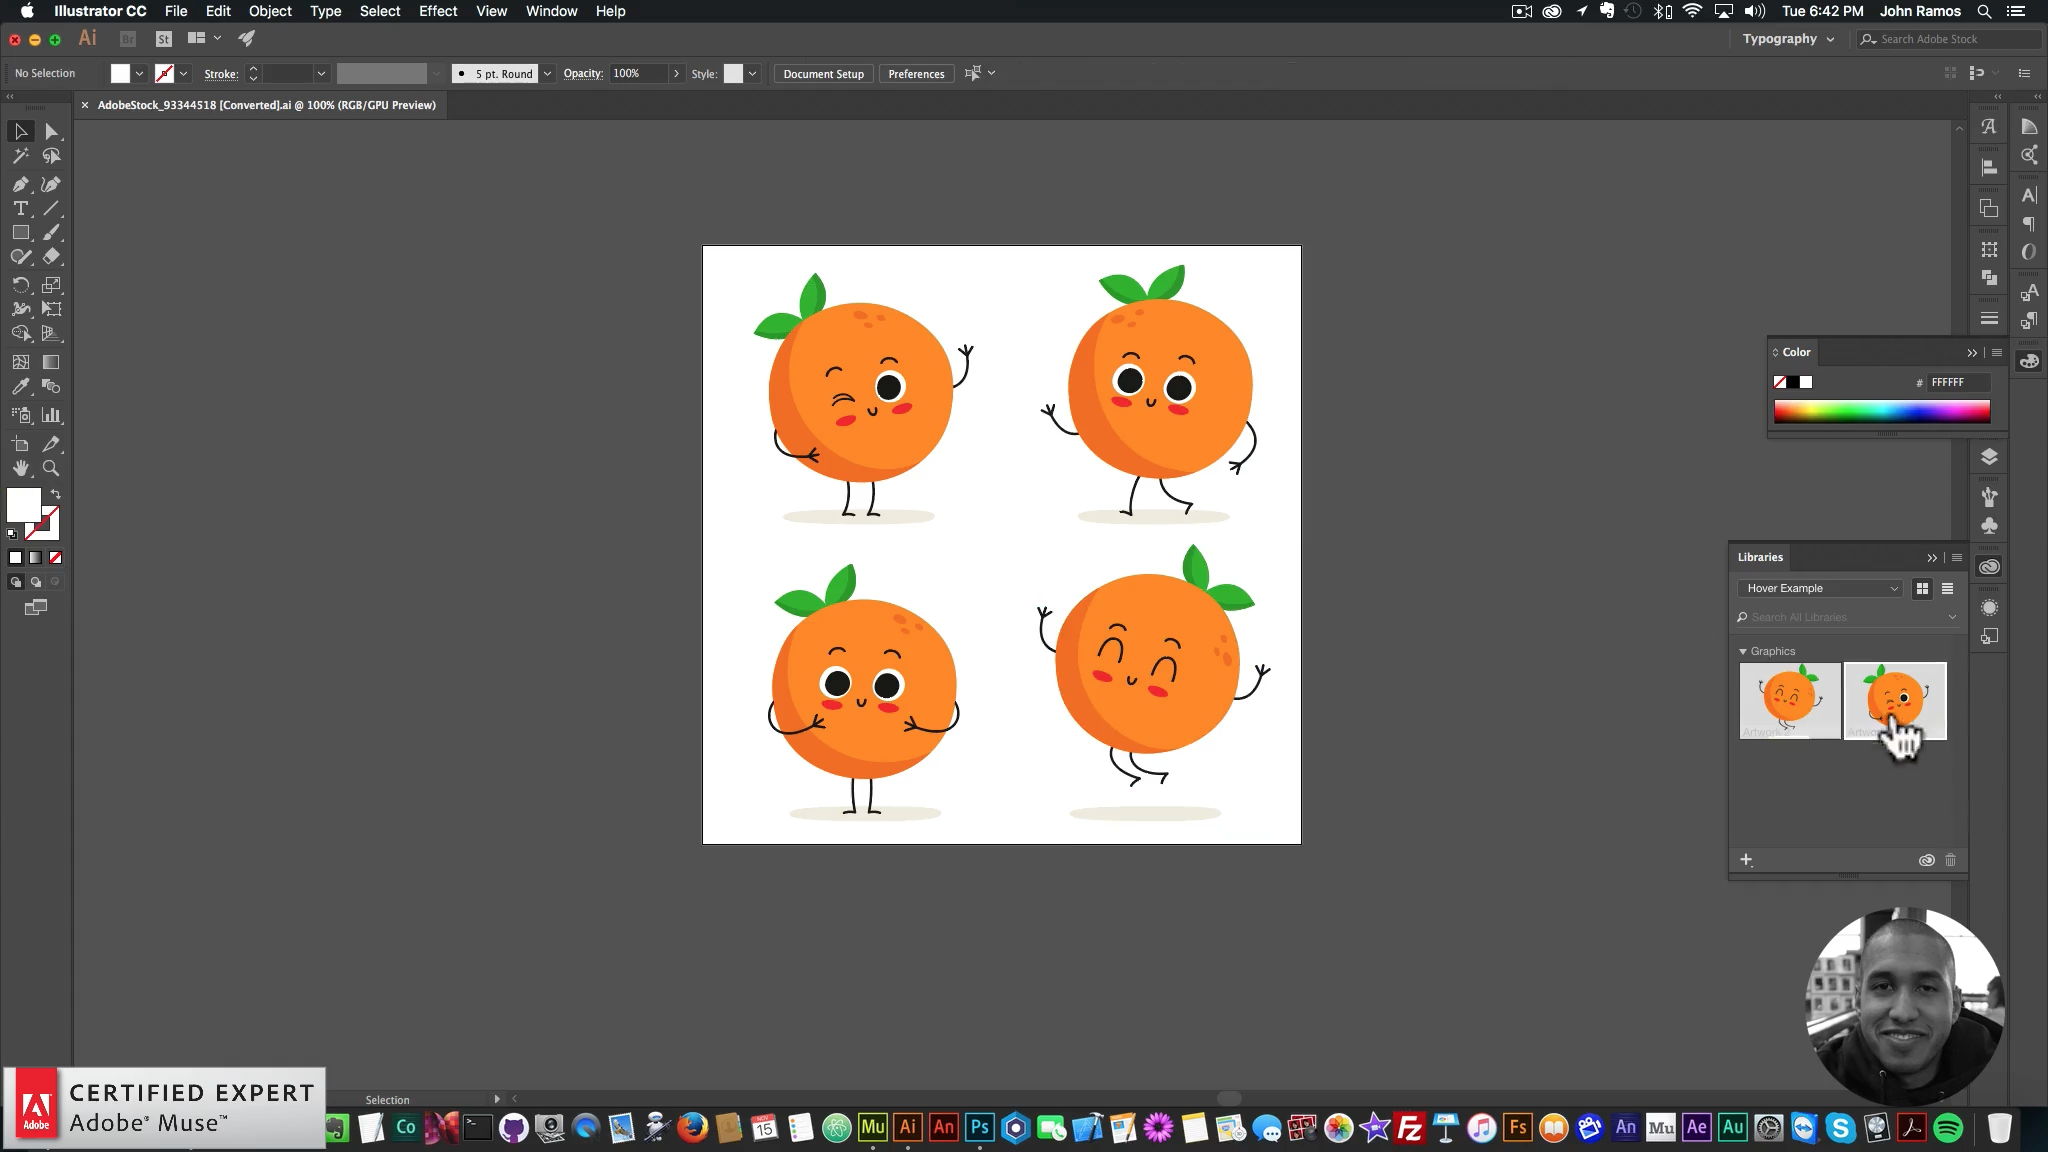
Via the Adobe Creative Cloud you can add vectors from Adobe Illustrator CC to your Creative Cloud library. You can then drag and drop those vector images as SVG files into Adobe Muse. Placing these images in rectangles allows you to create rollover states in Adobe Muse.

Images being prepared Adobe Illustrator CC

Images added to different states in Adobe Muse CC
The steps are as follows:
1. Create a rectangle in Adobe Muse.
2 . Fill the rectangle with an image for the normal state. The image can be added by going to the “Fill” option in the upper toolbar and then clicking on “Add Image.” You can select any image or a Photoshop file. If it is a Photoshop file you can select which layer you would like to add for the image. You can also select the fitting and position for the image within the “Fill” section.
3. With the rectangle selected go to the “States Panel” in the upper left hand corner of the Adobe Muse interface. Here click on “Normal” and select “Rollover.” You are now on the rollover state for the rectangle.
4. Fill the rectangle with an image or Photoshop file for the rollover state.
5. You can also add a “Mouse Down” state or an “Active State.”
6. Go to File > Preview Page in Browser to test and preview the rollover effect.
7. Done.
In the video above I go over how to create rollover states in Adobe Muse CC using Adobe Photoshop CC and Adobe Illustrator CC.
For more video tutorials and widgets for Adobe Muse visit https://museforyoushop.com. Happy Musing :).


thx John, I was going crazy because I have used states before. You gave me the insight to solve my problem, have a Great day!
How do you create a single Photoshop file with four different images?
You know what? I figured it out and there’s no way I would have without your help. Thank you!