
[youtube https://www.youtube.com/watch?v=K3DHDurj2w4]
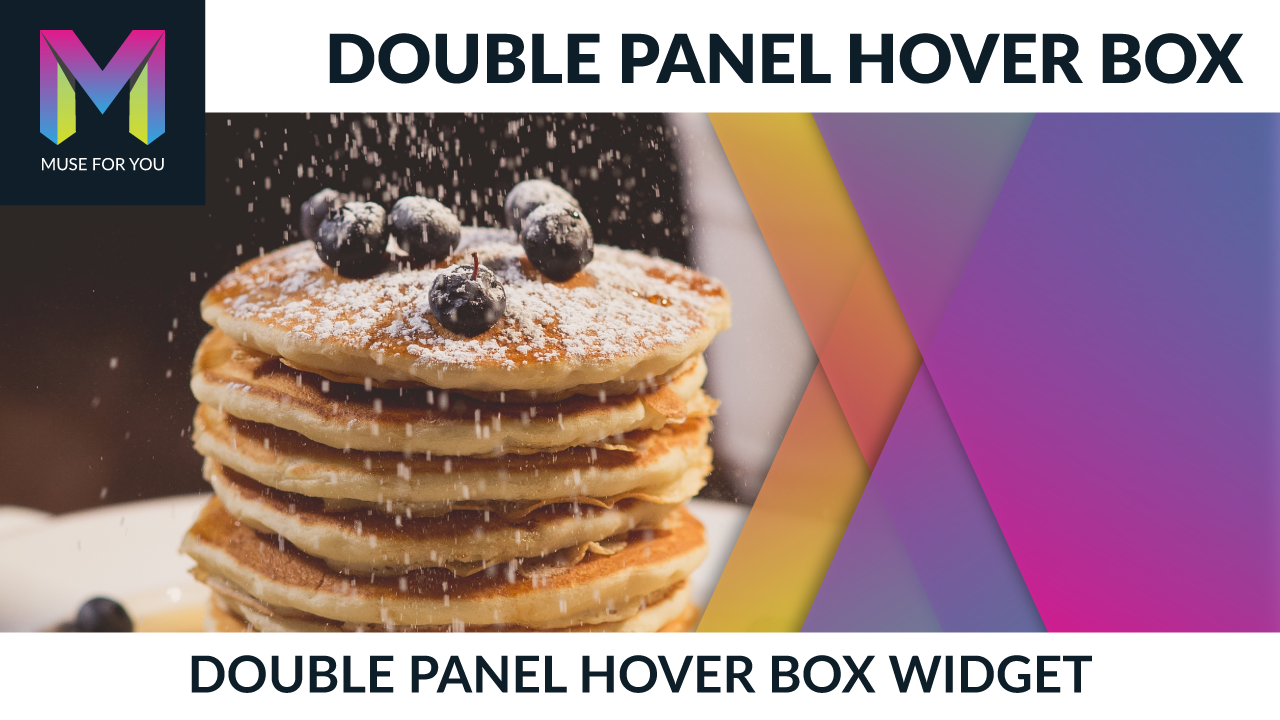
Add a Double Panel Hover Box Effect in Adobe Muse. No Coding Skills Required.
Adding hover effects over images can really engage website visitors and add more styling to your website. In the video above I go over how to add and style the Double Panel Hover Box widget found at https://museforyoushop.com.
The Double Panel Hover Box widget is completely customizable and is responsive in width and height so the image keep its proportions as the browser size gets smaller or larger.
The steps to adding the Double Panel Hover Box widget are as follows:
1. Drag and drop the widget from the Library Panel. If you do not see the Library Panel go to Window > Library.
2. Add an image to the widget. If you would like the widget to be a certain size crop the image first to the desired dimensions and then place in the widget. For example if you wanted the widget to be a square you would crop the image to equal width and height before placing in the widget. After the image is placed you can resize the widget and the image will retain its width and height proportionally. You can use any photo cropping program or visit the following website to crop the image:
Remove any extra space around the widget container by dragging in the sides of the widget container around the image.

3. Set the maximum width and the minimum width for the image in the image section.
4. Set the colors of the panels in the effect section.
5. Set the transition speed of the panels in the effect section.
6. Add and style the text in the text section.
7. If you would like to link the hover box to an internal page, external page, or anchor point enter a link in the image section. There is the option to open the link in a new tab if it is an internal link or external link.
8. If you would like multiple Double Panel Hover Boxes with different styling simply change the instance number for each new widget.
9. Preview in the browser and hover over image to see effect.
10. Done.
Features Include:
- Add multiple on one page
- Set the image to be responsive with the built-in ‘Resize’ option in Adobe Muse
- Set a maximum width and minimum width for the images
- Customize the color of the hover effect
- Set the speed of the hover effect
- Add text over the hover effect
- Set the color for the text
- Set the font size for the text
- Align text
- Link image to an internal link, external link, or anchor point
- Open link in a new page
For more video tutorials and widgets for Adobe Muse visit https://museforyoushop.com.
Happy Musing :).


Leave a Reply