
[youtube https://www.youtube.com/watch?v=e1f5yON3vmQ&w=560&h=315]
How to Add Gradient Text in Adobe Muse. No Coding Skills Required.
Gradients can be a great touch when wanting to add more styling to your website. With a lot of UI and UX design these days we are seeing gradients everywhere. It is actually a real art and skill to make sure the right colors blend together and to give the user a unique visual representation of a product or brand. Lately, I’ve been having a lot of fun with gradients and looking at different ways to incorporate more advanced gradients into Adobe Muse. Adobe Muse has its own built-in gradient option but it only allows you to add two colors and make the gradient either horizontal or vertical. That is why I released the “Advanced Gradients” widget that allows you to add more than two colors to a gradient and to set the gradient angle from 0 to 360 degrees. I myself have been using it quite often to add more styling to sample pages I’ve been creating. I will talk more about the Advanced Gradients widget in another article.
In this article, I am going to be covering the “Gradient Text” widget. I haven’t seen gradient text as often as elements with gradients so I thought now would be the perfect time to introduce it. Gradient text looks really slick and it can add that extra bit of styling to make a website really stand out.

Here is how to add the Gradient Text widget in Adobe Muse:
1. Install the widget by double clicking on the .mulib file.
2. Go to the Library Panel in Adobe Muse. If you do not see the Library Panel go to Window > Library.
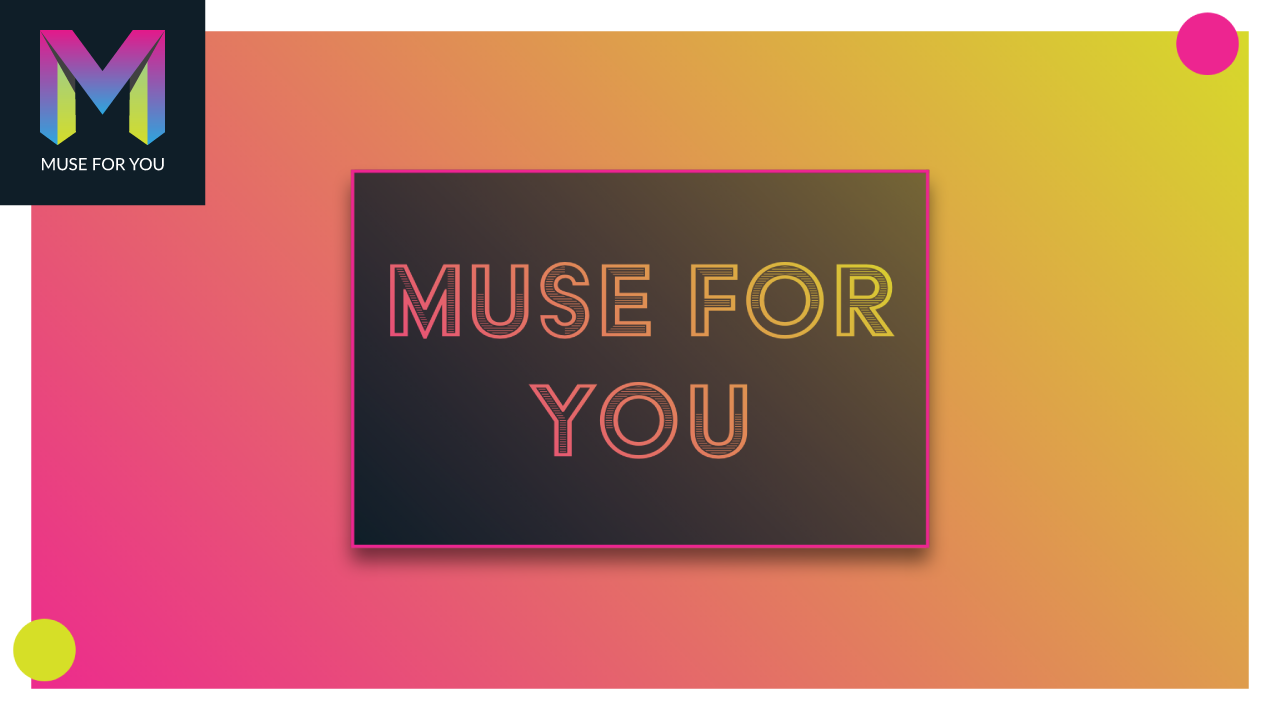
3. Click, hold, and drag the widget onto your Adobe Muse website. The initial text will say “Muse For You,” and it will have a blue to green gradient.
4. Set the instance number for the widget in the “Instance” section. Each new gradient text with different styling properties should have a unique instance number.
5. Type the text you would like to apply a gradient to in the “Text” section.
6. Format the text within the “Text” section of the widget. Here you will find all the options to customize the size, letter spacing, line-height, text transform, alignment, and font weight of the text. To change the font type for the text select the widget and then go to the built-in Adobe Muse text option and select a web font from the drop-down.
7. Next, open the “Gradient” section. Here you can set the gradient angle, the first color, and the second color for the gradient. You can also adjust the gradient position and opacity for each color.
8. There is an “IE Fallback” section that allows you to select the color for the text on browsers that do not support gradient text. At the moment Internet Explorer browsers do not support gradient text. The Edge browser does support gradient text.
9. To make sure the gradient shows up well within the text make sure the widget container is not too large in width. Making the width of the widget container larger stretches out the gradient behind the text and makes the gradient not as visible. You can set the gradient width so it is very close to the left and right side of the text.
10. Done!
For more video tutorials and widgets for Adobe Muse visit https://museforyoushop.com.
Happy Musing!


Leave a Reply