How to Add a Responsive Lightbox in Adobe Muse. No Coding Skills Required.
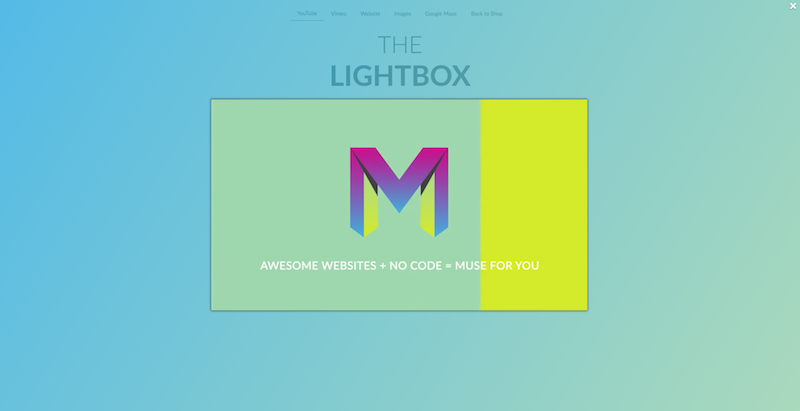
A Lightbox is a great way to have your website visitors focus their attention on a specific item on your web page. With a Lightbox you can have the website be in the background while a specific item is emphasized in the center of the website. An opaque or solid overlay covers the website so it is not seen in the background while an element is focused on. Adobe Muse has a few Lightbox features but one of the drawbacks with the Adobe Muse built-in Lightbox is that it is not responsive. That is why I decided to create “The Lightbox” widget. With this widget you can add a YouTube video, Vimeo video, image, Google Map, or website to the Lightbox. As the user resizes the browser the Lightbox changes size as well to fit all devices. You can also set the opacity of the overlay in the Lightbox to be more solid or more see through. You can have a solid color or choose a gradient for the Lightbox overlay.

Features Include:
- Set the background color and opacity of the Lightbox background.
- Add a gradient for the Lightbox background.
- Link a YouTube video to the Lightbox.
- Link a Vimeo video to the Lightbox.
- Link a website to the Lightbox.
- Link an image to the Lightbox.
- Link a Google Map to the Lightbox.
- Link a Muse For You Hover Box to the Lightbox.

Here are the steps to add “The Lightbox” widget:
1. Install the The Lightbox Widget by clicking the .mulib file inside of the widget folder. This will install directly into the Adobe Muse library panel.
2. Drag and drop “The Lightbox – Add First” widget from the library panel onto the Adobe Muse website. If you would like to have a gradient background in the Lightbox add “The Lightbox – Add First – With Gradient.” If you do not see the library panel go to Window > Library. From the “Add First” widget you can style the color and opacity of the Lightbox overlay.
3. Next drag and drop “The Lightbox Widget” onto your Adobe Muse website. You will notice there is an option that says “Graphic Style Name.” This is the graphic style name you will want to apply to the element that opens the Lightbox when clicking on it. To assign the graphic style name open the graphic styles panel. If you do not see the graphic styles panel go to Window > Graphic Styles. Then assign the graphic style name that is in the widget to the element you would like to open the Lightbox.
4. Afterwards link the element in Adobe Muse to a YouTube video, Vimeo Video, Image, Google Map, or website via the built-in “Hyperlinks” section in Adobe Muse.
5. Preview in the browser to see the Lightbox.
6. Done!

For more widgets and tutorials for Adobe Muse visit http://museforyoushop.com.
Happy Musing :).


will it be possible to set a link to a video on a facebookpage?
Whenever someone presses the back button in their browser, instead of closing the lightbox, it just goes back to the previous page. I know this isn’t a feature included within the widget, however, is there some code I can add direcly into the HTML to get that function?